
Hey guys, this is my first written tutorial in a while, so if it's unhelpful, bare with me. I'm going to show you how to easily change the colour of an eye, it's really simple and really effective. I'm doing this tutorial on Adobe Photoshop CS5 Extended, but most versions of Photoshop are pretty similar so you should get the hang of it, if not, please comment (even if you don't have a blogger account, you can comment anon!), and i'll get back to you asap.Okay, so, first of all, you have to get a picture of the eye you want to edit. I'm using one I just got from google. Open it up in Photoshop If your new to Photoshop, imagine 'layers' as pieces of acetate paper, clear, and moveable. To duplicate your background layer (to make another copy of your current image), go to Layer - Duplicate Layer, then click 'OK' if any settings come up. Your layer palette should now, look like the 2nd image below. As you can see, there are 2 layers, both the same. I find that duplicating whatever your image to start off with, is kind of like a backup plan - if anything goes wrong, you have the duplicate to work from. So now we have 2 layers of the same image. To create a New Layer, go to Layer - New - Raster Layer. This is like a clear piece of acetate. As you can now see, there are 3 layers on the layers palette (below).
  Now select the brush tool, which looks like the icon below left, its found on the tools either on the left or right hand side of your screen. Click it, and change the settings of the size and hardness similar to mine (varies depending on your picture). Make sure that your using a round brush!
 Now select the colour you'd like to change the colour of the eye. I've chosen a nice marine blue (0079ab). Make sure that the colour you've chosen is the Foreground colour (the front square, not the back square).
 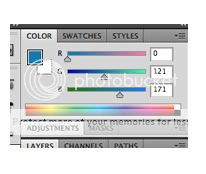 Using the brush you've chosen fill in the eye. Make sure your on the Raster Layer you created (should be the top one, if your not, just click the top layer). It should then look something like the 2nd picture below, but in the colour you chose. Now, we need to make the blue look realistic. On your layer palette (check pic3), there will be a blend mode box. It's a drop-down box, and will originally say 'Normal'. Click where it says 'Normal', and test out each of the settings. The best ones usually are Darken, Colour, and Overlay. I've chosen to set mine to colour. I then decided that the blue was too vibrant and didn't look very realistic, so I changed the Opacity to 61%. Yours will be at 100%, the lower the number, the more see-through the layer. The opacity basically means the strength of the layer. It should then look something similar to picture 4 below.
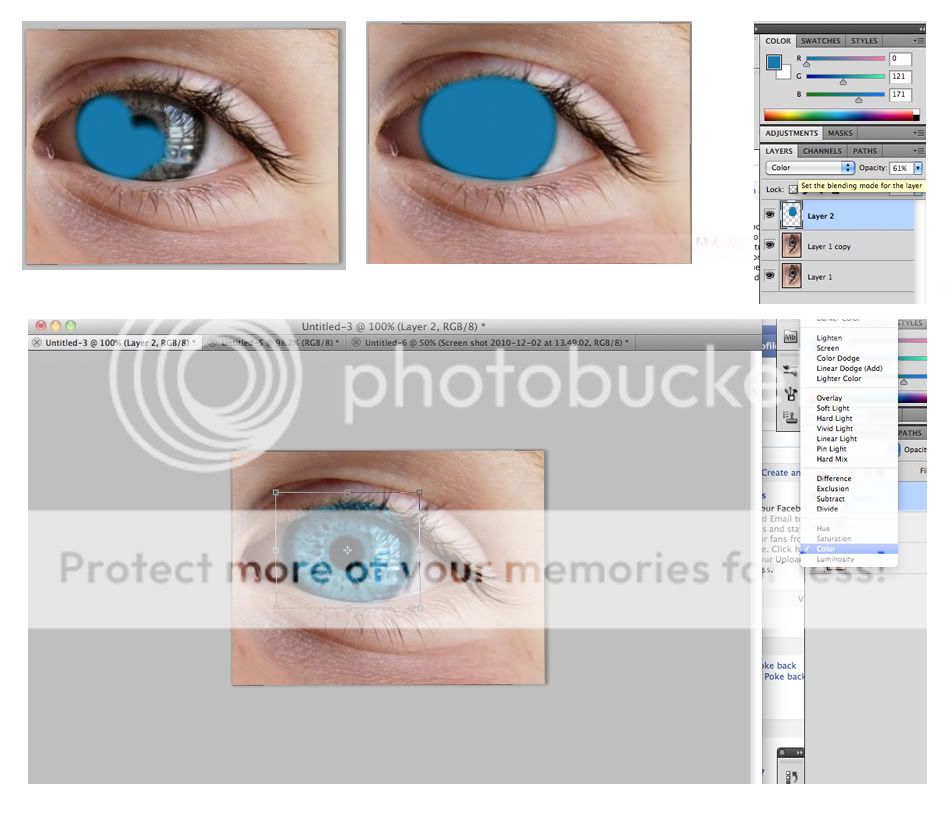 If you've gone over the eye a bit like I did, select the eraser tool (below left), and again, change the settings to something that suits your image, it should then look similar to the image below right.
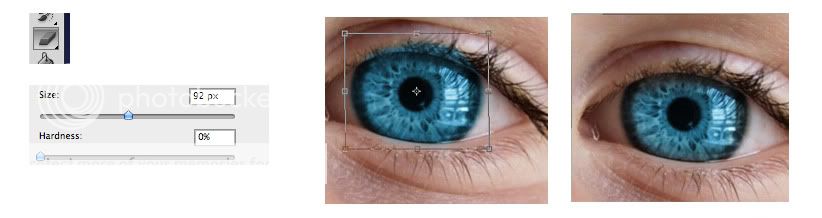 Now, we're going to merge all of the layers so that it's one image, with 1 layer. I did it by highlighting all of my layers by holding down the 'shift' key, then right clicking and merging the layers, but you can also do it by going to 'Layer - Merge Down' and it should merge all of your layers. We're also going to give the eye a bit of definition, so select the dodge tool. Using the dodge tool is similar to using a brush tool - but it lightens. I lightened certain parts of the eye, and then selected the 'Burn' tool, to darken certain places too. (top image is dodged, bottom is burned).
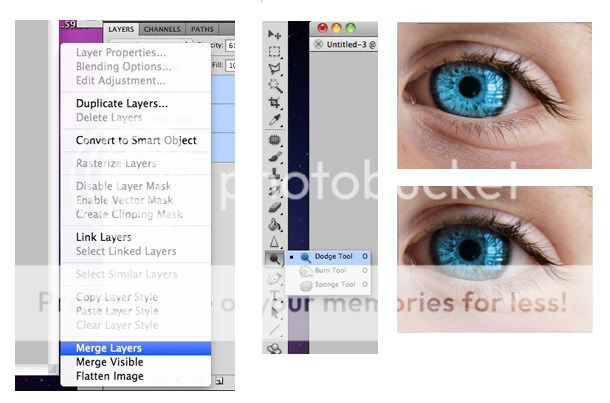 You can also sharpen the eye, to make it look a bit shinier. Use it the same way in which you'd use a brush tool, dodge or to burn.
 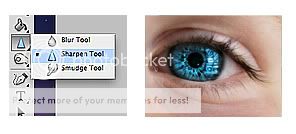 Before: After:
 Any questions.. feedback.. please let me know what you think, and if you need help!
 Tipstutsandtricks is an online resource for all things graphically related, including a collection of eclectic brushes, tutorials, images and textures compatible with most versions of Photoshop and Paint Shop Pro.
Feel free to use anything from the site, but please, do credit where needed.
Check out the terms of use, and more about TT&T and i’m sure we’ll get along just
fine! :)
Tipstutsandtricks is an online resource for all things graphically related, including a collection of eclectic brushes, tutorials, images and textures compatible with most versions of Photoshop and Paint Shop Pro.
Feel free to use anything from the site, but please, do credit where needed.
Check out the terms of use, and more about TT&T and i’m sure we’ll get along just
fine! :)
 Terms Of Use
0 Comments:
Post a Comment
<< Home